This time I decided to do an improved version of a nail art from last year (see it here).
The nail art you see now was what I had in mind originally, but 1yr. ago, I was either too busy or too lazy to do all the steps...
(↓ Tutorial for this nail art below ↓)
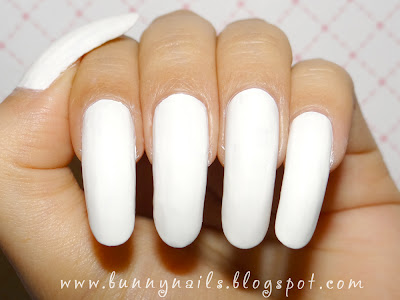
1.Once your nails are prepped with a basecoat, start by applying 1 or 2 layers of white nail polish.
This is only the base for the pastel colors to look nice & bright.
2. Apply lines or dots of different pastel colors onto waxed paper, plastic or aluminum foil.
3.Using a nail stamper press it on top of the nail colors, twisting slightly so that the colors mix up a little bit. You will see the colors transferring to the stamper and ready to apply on your nails.
*You can also paint the pastel color lines directly on your nails with your nail polish brush, whichever is easier for you.
4. Stamp the colors from the stamper onto each nail.(Or paint each color with a nail polish brush). Let it dry.
Don't worry if it doesn't look perfect, it doesn't have to be ;)
My nails look like Easter eggs :D
5. Apply one coat of white crackle nail polish and let it dry to get the cracking effect. Apply clear topcoat to smooth out the nail surface and let dry.
6. I used Konad's Q1 stamping plate and stamped the candy designs on my nails using Kleancolor black. You can use any other stamp plate design of your choice.
*There are other options for this nail art such as applying nail art stickers or by drawing freehand designs on your nails ;)
I hope you like this nail art tutorial and that it can be useful to you ;)
Which version do you like better? Last year's or this one?
♥♥Thank you so much for reading♥♥


