Showing posts with label tutorial. Show all posts

How to do Nail Stamp Decals

Hello dear readers!

As I promised, here is the tutorial on how to make nail decals by using designs from nail art plates.
 
I will describe all the steps below the image.
Step1: Transfer your favorite image onto a nail stamper of your choice. I used a small soft stamper and  a bird design from Stamping plate XL M using Nabi black as my stamping nail polish.

Step2: With the design still on the stamper, paint inside the image using a small brush or with your nail polish brush. Nail polish or acrylic colors can be used. Let dry. *Cover the design using a clear topcoat and let dry. I used Out the Door fast dry top coat. it makes this process much faster ;)

Step3: Once the design is dry, peel off using tweezers (or in this case, my own nails).

Step4: Apply clear topcoat on your nail color base. This step is important so that the surface is sticky enough for the decal to stick on your nail. *Make sure to let dry the topcoat a little bit before applying the decal, it should be dry to the touch but a little bit sticky. Place the decal on your nail and smooth it out carefully to get rid of creases or air bubbles.

Step5: Apply clear topcoat to protect and give shine to your decal. You can add other details before applying topcoat.

I hope this tutorial will be useful to you and that you now will be able to try this nail art ;) 
If you have any questions, let me know by leaving a comment :)

♥♥Thank you so much for reading♥♥

Nail Art Remake: Ice Cream and Candy Nails & Tutorial

Hello dear readers!

This time I decided to do an improved version of a nail art from last year (see it here).

The nail art you see now was what I had in mind originally, but 1yr. ago, I was either too busy or too lazy to do all the steps...
(Tutorial for this nail art below)

1.Once your nails are prepped with a basecoat, start by applying 1 or 2 layers of white nail polish. 
This is only the base for the pastel colors to look nice & bright.
 

2. Apply lines or dots of different pastel colors onto waxed paper, plastic or aluminum foil.

3.Using a nail stamper press it on top of the nail colors, twisting slightly so that the colors mix up a little bit. You will see the colors transferring to the stamper and ready to apply on your nails.
*You can also paint the pastel color lines directly on your nails with your nail polish brush, whichever is easier for you.

4. Stamp the colors from the stamper onto each nail.(Or paint each color with a nail polish brush). Let it dry.
Don't worry if it doesn't look perfect, it doesn't have to be ;)
My nails look like Easter eggs :D

5. Apply one coat of white crackle nail polish and let it dry to get the cracking effect. Apply clear topcoat to smooth out the nail surface and let dry.

6. I used Konad's Q1 stamping plate and stamped the candy designs on my nails using Kleancolor black. You can use any other stamp plate design of your choice.
*There are other options for this nail art such as applying nail art stickers or by drawing freehand designs on your nails ;)

I hope you like this nail art tutorial and that it can be useful to you ;)


Which version do you like better? Last year's or this one?
♥♥Thank you so much for reading♥♥

Black Lace and French Manicure and How to

Hello dear readers:

The nail art I'm posting today is a remake of something I already did once before I started this nail blog. It is a combination of French manicure and lace. Details on how I did it below:


I started with one layer of basecoat. Using Kleancolor in black, I painted French tips using the nail polish brush. I didn't use adhesive guides this time. I think it looks better if I use my natural nail smile lines as my guide.

I stamped on top of the nail bed area with a lace pattern from A40 stamping plate using Kleancolor black as the stamping polish. I wanted to give this manicure a bit more glam so I added one layer of a glitter nail polish on top of the French tip.

What do you think of the combination of lace and French manicure?

♥♥Thank you so much for reading♥♥

Chocolate dipped w/ Candy Nail Art & How To

Hello dear readers!

It's been a long time since I've done nail art...

So one day I was at San Francisco's Ichiban Kan store and stumbled upon the deco section. I saw all those candy deco parts and it occurred to me that I could use a little baggie of fake candy sprinkles on my nails and achieve a 3D type of nail art.

So here's the final result:
Note: Scroll down for instructions on how to do it yourself ;)
 

1. Start with a cream finish white or pastel colored nail polish as the base.
I used Orly - Cotton Candy

2. Use a dark brown nail polish or acrylic paint and paint on the tips of the nails as if you've dipped them in chocolate. The dripping effect depends on the length of your nails... there's no right or wrong way to do this. I used OPI - Suzi Says Da! for it's chocolate-like color.

3. I added little dots of clear nail polish and placed the fake candy sprinkles randomly.
*You can get these on Etsy, search for "deco fake candy sprinkles"
**You can also make these sprinkles yourself with polymer clay. I found a how-to video here.
***If you are not into 3D nail art, you can use acrylic paint or nail polish in pastel colors and draw little lines to emulate the small candy.

4. Apply 1 or 2 layers of clear topcoat to protect your nail art. I thought the candy parts would fall off right away, but I was wrong... they can last a week or more but believe me... it is not the most practical nail art to wear everyday... I had such a hard time washing my hair XD

Here's an extra pic that I posted on my Bunny Nails Facebook (feel free to add me) of me wearing this nail art.

What do you think of this nail art? Would you add the candy sprinkles or paint them instead?

♥ ♥Thank you so much for reading♥ ♥

How-To: Swatch Sticks

Towards the end of 2012, I embarked on a mission to organize my stash after I realized I no longer know what colors I have. With some 200+ polishes randomly stashed in the depths of my drawers, I must admit to being guilty of neglecting a lot of colors and not giving them the love they deserve. Not only that, it is also difficult to find matching undies for the glitter toppers I have.

My solution? Swatch sticks.
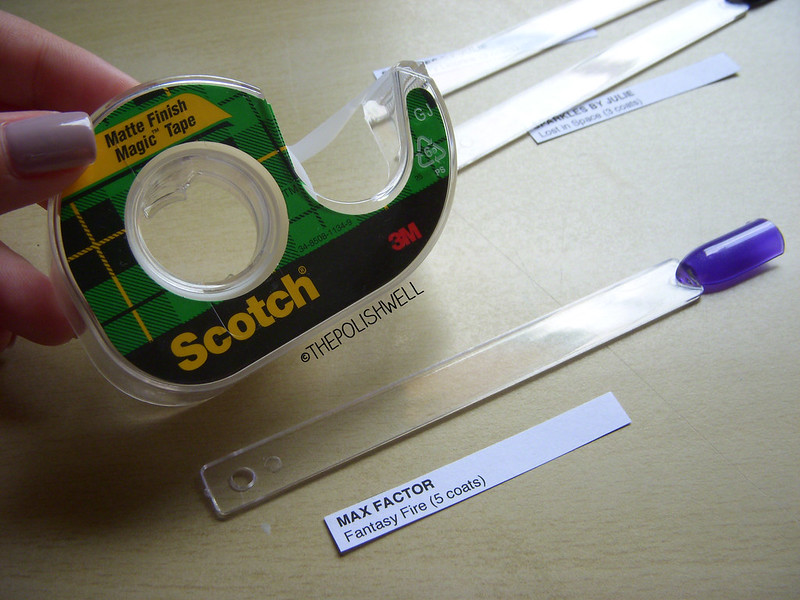
Take a look:

swatch-sticks02
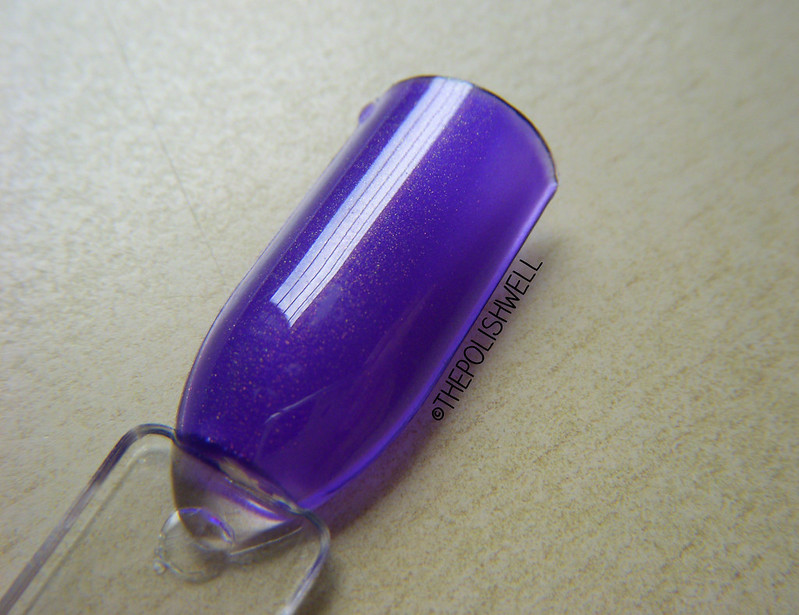
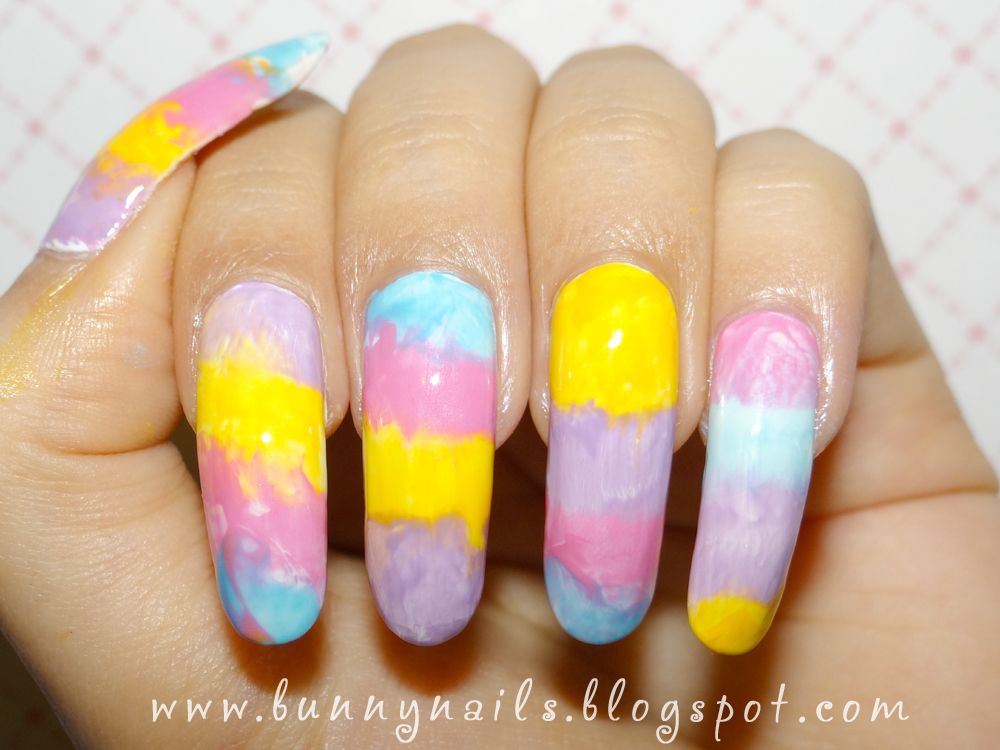
The model: Max Fantasy Fire (5 coats on its own)
First, I swatched the polishes on the underside of the swatch sticks. I'd tried painting the swatch sticks the way I paint my nails but I realized the top coat turns the polish matte on the swatch sticks. Thankfully, a fellow IG-er suggested painting on the underside. This way, the plastic acts as the de facto top coat on one side and I can see how the polish looks sans top coat on the underside as well. Genius!

As I swatch the polishes, I took down the names of the polishes in the order I swatch them and the corresponding number of coats it took to reach opacity. While waiting for them to dry, I create labels for my swatch sticks.
Because I know my handwriting probably can't fit onto the sticks, I decided to type them out instead. I measured the sides of the sticks and created a table in Microsoft Word, specifying the width and height of the cells (in my case I used: 0.8cm x 6cm). Then I typed the brand name (in bold and caps); the name of the polish; and the number of coats applied in brackets. In case you are wondering, I used Helvetica, 8pt to make sure the words fit comfortably in the table cells. You can see how it looks in the picture below. After printing the table, I proceeded to cut the labels one-by-one.
Of course, you can save a lot of trouble if you have those label-machines and other fancy gadgets but I didn't have those so I did everything the tedious way.

swatch-sticks00
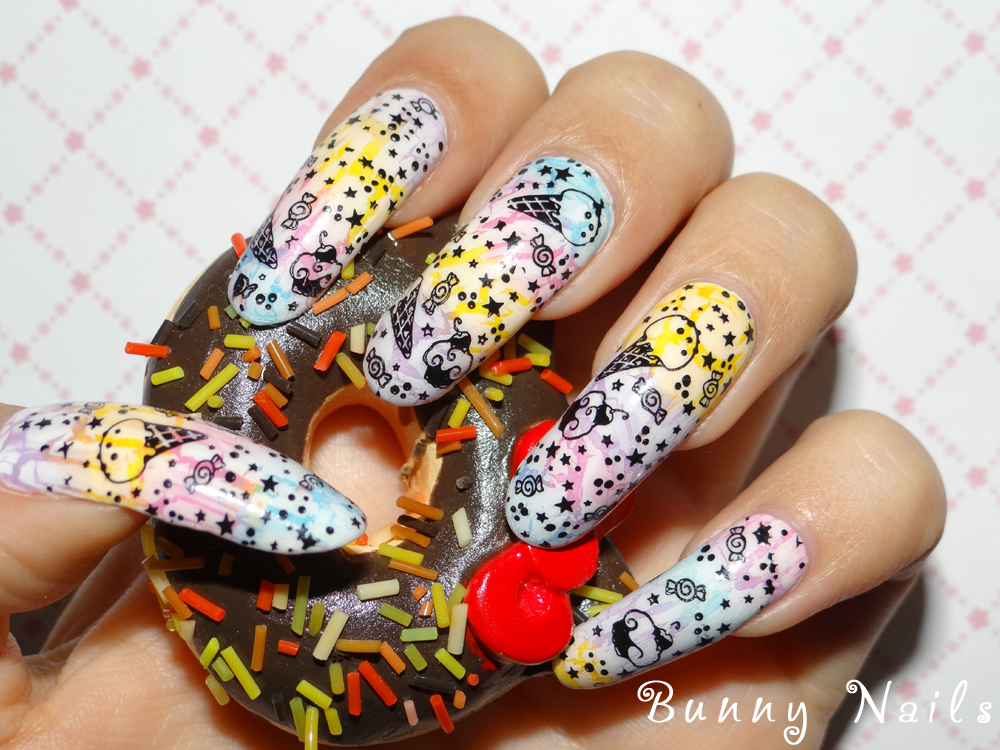
Wearing OPI Steady As She Rose on the nails...
The next step? Sticking the labels on! I used 3M's matte finish tape because I love how it looks. And the width is just enough to wrap over the edges of the swatch sticks. To make sure the tape doesn't come off any time soon, I wiped the stick clean before taping.

After labeling, all you have to do is to arrange them however you like!
I organized them by color for ease of comparison and because they look so pretty like that:

swatch-sticks03
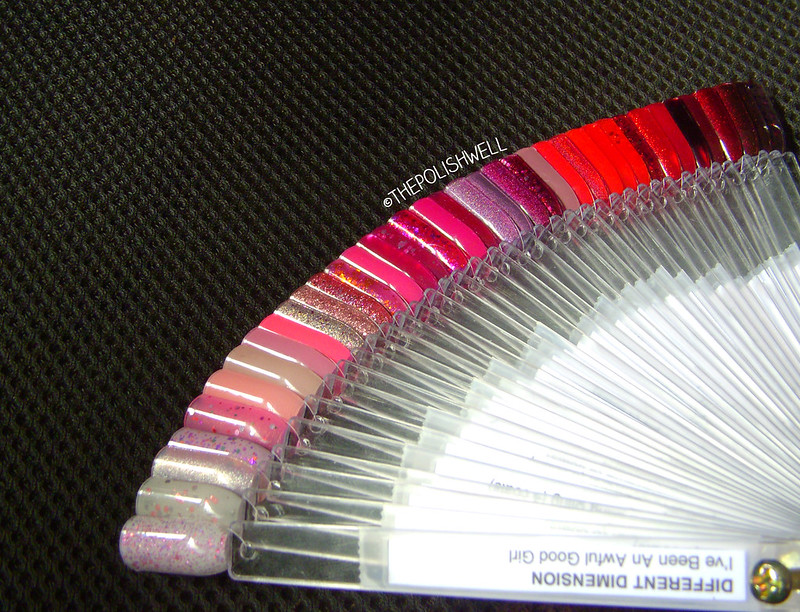
The pinks and reds...
swatch-sticks06
The beiges, browns, orange, yellow and greens
swatch-sticks07
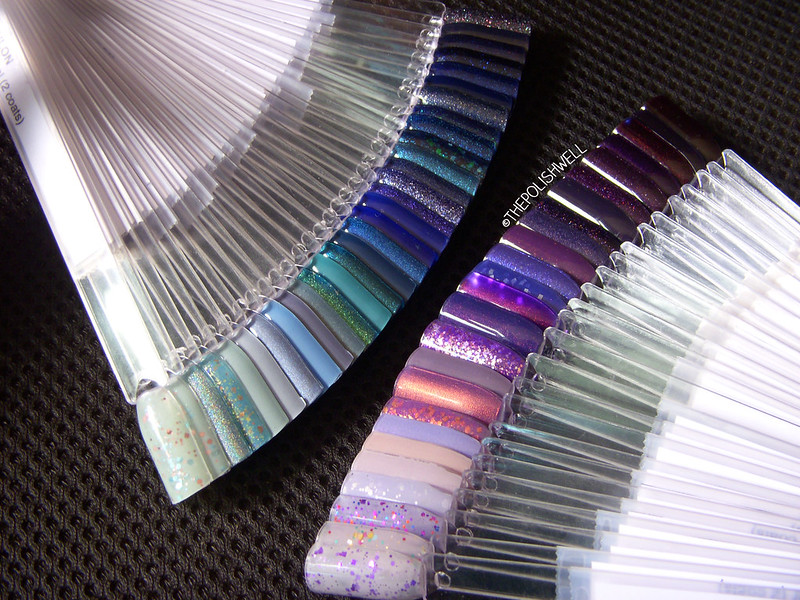
The blues and purples...
swatch-sticks09
The whites, greys and blacks...
swatch-sticks11
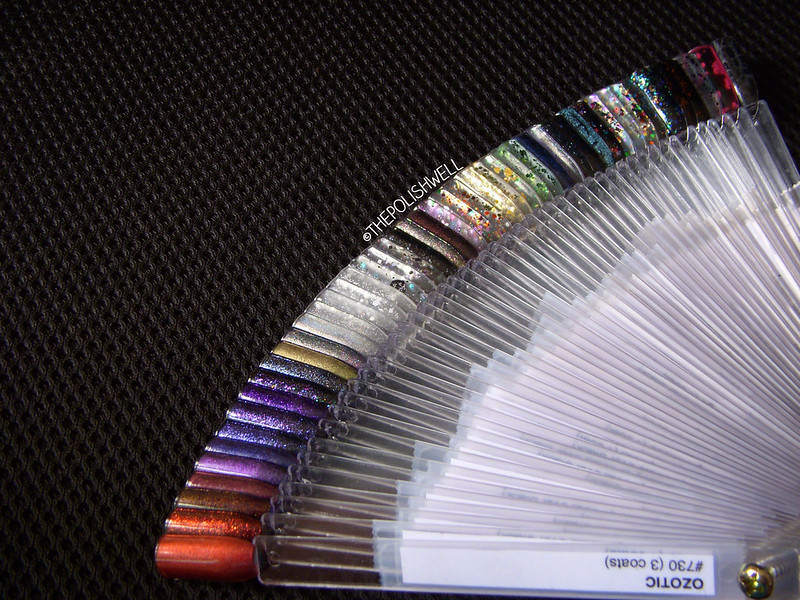
The duochromes and toppers
It took me a few days to finish the swatch sticks but it is definitely worth it:

  • Everything is organized neatly
  • It is easy to compare colors
  • You can rearrange them however and whenever you like
  • You can admire the colors in your stash all at once without needing 200++ fingernails 
  • It is easier to find undies for toppers too 
The only drawback is that you will have to find a place to store these sticks but I can live with that. :P

Just in case you are wondering, I organize my polish bottles by brand and name (alphabetical order) because bottles from the same brand fit better together. I will pick the color from the sticks and look for it in the drawers with the brand and name.

How do you organize your stash? :$

xoxo,
mich

Halloween Pumpkin Nail Art and Tutorial

Hello dear readers!

Today I decided to do a freehand nail art featuring a Halloween design. (Last year's Halloween nail art here)
This time, Halloween pumpkins were my inspiration.

Below you will see step by step pictures and instructions on how I did this nail art.

First, I painted my nails using a dark purple nail polish. I used Orly's Fowl Play. 

Using an orange color nail polish (or acrylic paint), paint the tip of your nails making semicircular edges at the top of the design. The nail polish I used is Ulta - Sun of a Gun.

With a metallic or glittery nail polish paint the outline of the pumpkin. I used Kleancolor - Metallic Orange.

Now, paint the faces of the pumkins. The facial expressions are up to you ;)

Paint stems and leaves on the top of the pumpkins. I used Kleancolor -  Metallic Green.

This step is optional: you can add any glitter, dots, etc... I painted some candies on the accent nails using to finish the design. I added wrapped candies on the thumb and candy corns on my ring finger nail.

Finished!

I hope you liked this nail art. You still have time do it yourself for this Halloween ;)

♥ ♥Thank you for reading♥ ♥