Showing posts with label Spectraflair. Show all posts

Halloween Skeleton Nail Stamping

Hello, dear readers!

As you may have read on my previous post. I released new HD stamping plates with Halloween and Día de muertos designs. Now that they are on my hands, I put HD-C plate to the test and did a manicure with it.


(All pictures can be enlarged)

I started out by using Revlon - Enthrall as the base for this manicure.

I stamped the spiderweb pattern on the thumb using a holographic stamping nail polish that I made myself with Spectraflair pigment. On the other nails, the spiderwebs look more subtle because I used a holographic topcoat instead to give a hint of shimmery spiderwebs. I stamped the dancing skeleton image with Sally Hansen - Silver Sweep. I used the stamping decal technique to have more control of the placement of the design across my 4 nails. I just transferred the design onto the stamper, added clear topcoat, let dry and cut/applied the skeleton in parts.
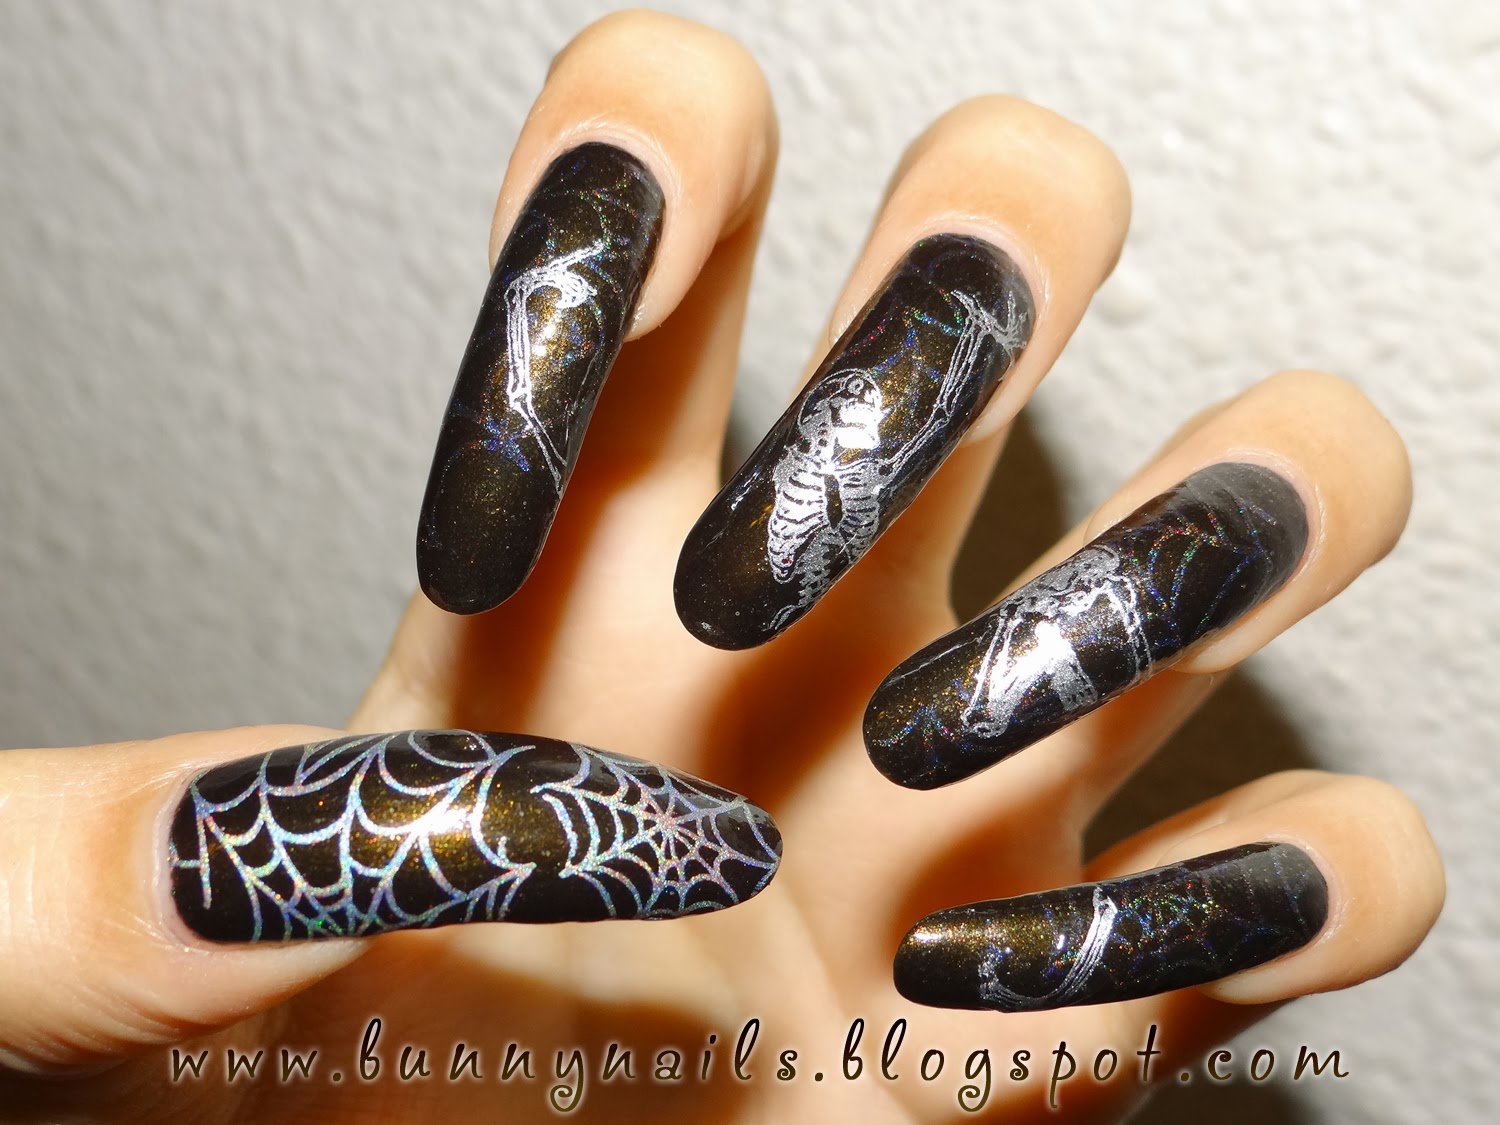
A close-up pic on the spiderweb design on my thumb nail.
(Can you see the holographic effect?)

What do you think of this manicure?
(You can purchase HD C and D plates here)

♥♥Thank you so much for reading♥♥

Challenge: Tone-on-Tone Stamping

Hello dear readers!

I did another manicure for FB group AiS. For Sunday September 1st, the theme of the challenge was tone-on tone which was pretty easy. I chose gray tones for this manicure because it's one of my favorite colors that I rarely get to wear.


I started with China Glaze - Pelican Grey as the base...

Then, I applied a layer of Spectraflair topcoat.
After that, I stamped a full nail design from plate XL M using Kleancolor - Charcoal for stamping.
(Kleancolor Charcoal doesn't work as a nail polish at all, takes ages to dry or slides off your nail...other than that... for stamping, it works flawlessly) ;)
Extra pic :)


 What do you think of this nail art?
As always...
♥♥Thank you so much for reading♥♥

My First Franken - picture heavy ; )

Hello dear readers!
It is been a couple of weeks since the last time I posted. I was busy with school (final exams, assignments...). Now I'm officially on vacation  since last Friday. I haven't done anything on my nails because I don't feel like it... I've been feeling a bit down since I finish my semester. It is weird, when I'm in school, I want to take some time off and now that I'm on vacation, I miss school : (  I guess I've been studying nonstop so much that I got used to it, hahaha

Today, I want to show you my first franken polish, it is not like the Spectraflair top coat that I just added the pigment to clear polish...This time I mixed a bunch of nail polishes and glitters.
More pictures below:

It all started as an accident, I wanted to add some holographic shine to a Japanese nail polish that I never got to use (my mom did ^_^), but I guess the color was too sheer because it turned out grey in color... I thought I had ruined my precious Japanese nail polish, and the only way to fix it was to add some color to it.

*For this franken polish I used some drops of:
Borghese - Clear
China Glaze - Millennium
Kleancolor - Neon Pink
Kleancolor - Pearl Fuchsia
Kleancolor - Metallic Pink
Sally Hansen - Sweetheart
*Then, I added A few tiny scoops of :
Spectraflair --of course ;)
Fantasy Makers glitter - Glitz (silver holographic)
Squared translucent glitter

I mixed and swatched until I was happy with the opacity and color and here is the result:
This is the bottle, isn't it pretty?

Here you can see the color and glitter in more detail:
 

Here is the nail polish on my nails:
 

This is the nail polish that I'm currently wearing... since almost 3 weeks! I'm surprised that it has not chipped yet, I love it ;)

What do you think of my first real franken? Your comments are always welcome :)